Scripture: 1 Samuel 17
Learning Objectives:
- Students will learn the story of David defeating Goliath despite their large size difference and students will have a deeper understanding of Goliath’s actual height.
- Students will learn how to measure objects in feet/inches or meters/centimeters.
- Students will learn how to use the known measurement of an object to estimate the measurement of an unknown object.

Guiding Questions:
What are good strategies to use for measuring objects?
How can I use the known measurement of an object to estimate the measurement of a similar object?
Materials: tape measure and/or ruler for each pair of students, paper David about 5 ft tall, Paper Goliath using actual height, pencils, chart for students to fill out (see below)
Procedure: Review the story of David and Goliath focusing on Goliath’s height in comparison to David who was a young man/older boy at the time. Tell them that Goliath was about 9 ft 6 inches. The average person is closer to 6 feet tall. Provide a drawing of David and Goliath for students to reference. To draw them to scale, consider these measurements: Goliath was about 9 feet 6 inches (about 3.2 meters). We do not know David’s height but can guess that he was around 5 feet (1.5 meters). (Side Note for the teacher: Some scholars think Goliath was closer to 7 ft based on how they measure a cubit, but over 9 ft is typically accepted and serves the purpose for this lesson.) Here are some helpful conversions if you prefer to use the metric system: 1 in.= about 1.5 cm, 1m = about 3 ft, 1 m=about 40 in.,
Tell students that their task is to measure David and Goliath. Divide them into groups of 2-3 students. Provide each group with a tape measure (If you do not have tape measures, see supplemental activity). As a review of measuring skills, have students explain how to measure something.
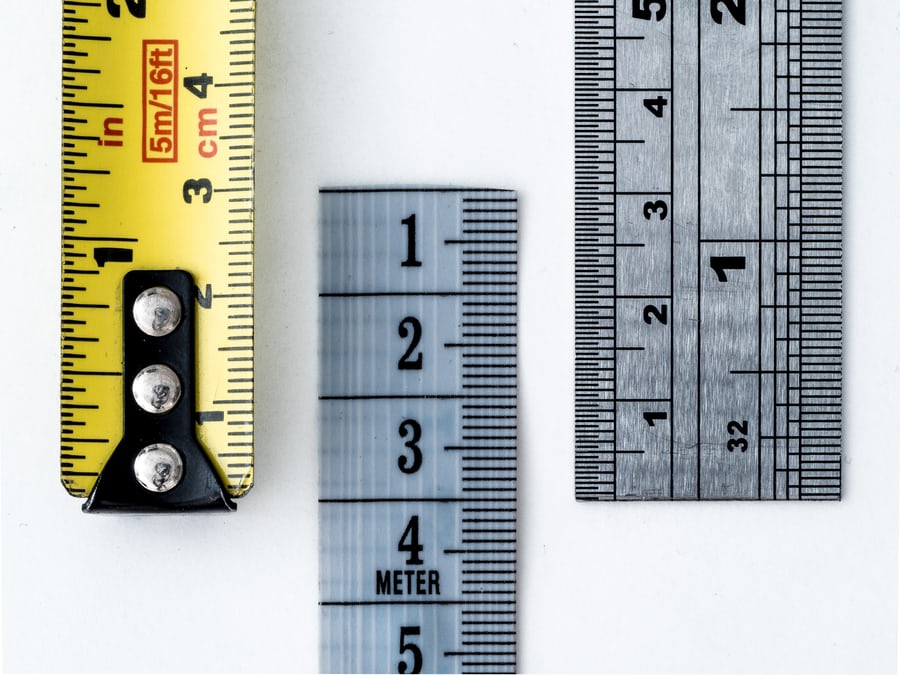
How to measure:
1. Aline the edge of the ruler/tape measure with the very bottom of the feet. Never leave a space at the bottom.
2. Pull the measuring tape so that it is straight and taunt (no slack). Unroll the tape all the way to the top of the figure. Place your finger directly where the figure ends. Read the feet marker first. Then add the inches. Example: 9 feet and 6 inches.
Have students suggest ways of helping each other so that the partners are working as a team.
Examples: (Have jobs such as a holder, finger marker, and reader.)
• One person hold the bottom while the other person pulls
• One person hold their finger on the measurement while the other person reads it.
After students have practiced the skill by measuring the David and Goliath, let them apply the skill with the following activity:
Create a measurement scavenger hunt using things around the room. Write approximate measurements of things that they should find.
Example: The table is 36 inches high. Based on its height, how high do you think the chair next to it is?
The students then estimate what they think the height is and then check it. Create a chart for them to fill out:
Known Object’s Measurement
(Provided by teacher) Estimate of Similar Object’s Measurement (Teacher provides object. Student estimates.) Actual Measurement of Similar Object
(Student measures.)
Table 36 inches Chair 48 inches 52 inches
Chalk board 24 inches Flag
Additional Questions:
- How much taller was Goliath than David?
- How much taller was Goliath than you?
- Why is it useful to know how to estimate measurements?
Supplemental Activity: Teach students how to add measurements together if they do not have a tape measure. If they only have a ruler that is 12 inches long, how can they measure something that is more than 12 inches? Divide students into pairs. Give each pair one ruler. First let them experiment on their own to come up with a strategy. Then have students compare strategies until they find one that they think works.
Finally, teach them the following strategy steps:
1. Measure 12 inches/1ft/1 ruler starting at the very bottom of the figure.
2. Place your finger or your partner’s finger at the edge of the ruler.
3. Move the bottom of the ruler up to where the top of the ruler was previously (Aline it with your finger. Your finger is your marker.)
4. Continue “stepping” the ruler up to see how many “rulers” long the figure is.
5. Measure the remaining amount in inches.
6. Add together the measurements
a. Example 1 Basic addition: 12in+12in+12in+12in+12in+5in=65 in
b. Example 2 Advanced multiplication: 12×5=60 in→60in+5in=65 in
Questions: Why is it important to not leave any gaps between the place where you measure one ruler length and the start of the next ruler length?