Scripture: Numbers 13-14
Learning Objectives:
- Students will review the spies’ reporting back to Moses about the land of Canaan including the people’s distrust of God, Caleb and Joshua’s trust in God, God’s blessings, and God’s discipline.
- Students will learn key trail marking signs to help prevent them from getting lost in the wilderness or on a trail.

Guiding Question: How can we mark a trail so that we do not get lost?
Materials: pebbles/stones, sticks, forest/hiking trail if possible
Procedure: Review the story from Numbers 13-14. Encourage students to imagine what the journey would have been like for the spies to travel 40 days to Canaan. What do you think they saw? How would they know their way back? Review how the people’s distrust in God caused them to wander in the dessert for 40 years. Show them a map of their wandering. Notice that they wandered for a long time, but did not go very far.
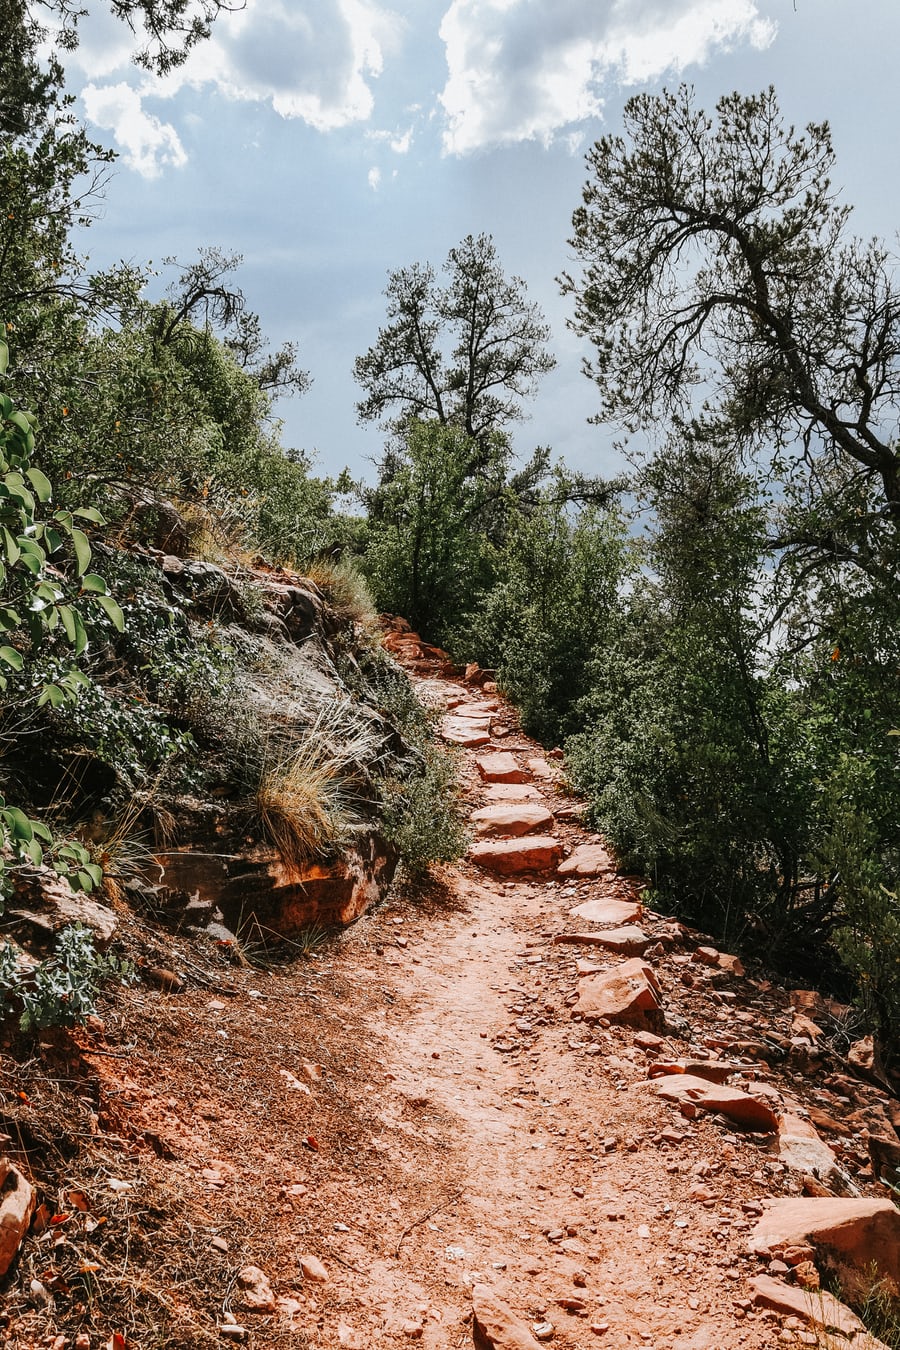
Ask students if they have ever been lost and how they felt. If they were hiking or exploring the woods/wilderness, how would they mark where they had been so that they could keep track of their trail? Introduce students to trail markings and explain that they can be used to mark one’s own trail, and/or as signs to others who come across the path. You may want to find sample pictures on the internet so that you can recreate some of them with the students.
Here are some examples:
1. Turn left/right- make arrows out of sticks or stones
2. Go straight ahead- a small stone stacked on a little stone or arrow out of sticks
3. Do not go this way- Rocks in a horizontal line or sticks making an “X”
4. Start of trail- one stone placed above two stones like a pyramid
5. End of trail- one stone placed below two stones like an upside down pyramid
6. To determine which trail you took if you’re lost, break the branches of trees at a constant height level along your trail. Leave them so that they hang down, but are not completely severed from the tree.
7. Try to look for distinctive features in plants, trees and boulders. Consider if something in nature looks like an animal or person. Name it (example: Turtle Rock). This makes you more aware of your surroundings. Look for nests and caves. Try to focus on things that are stationary unlike animals.
8. If appropriate and you have the right tools/ sharp rock, carve a simple symbol in a tree trunk.
Note: Explain that many parks use paint on tree trunks to let hikers know where the trails are. Emphasize that they should use natural signs and not litter or cause unnecessary harm to nature in the process.
Let students experiment with making signs. They can even invent signs of their own.
Additional Questions:
- How does it feel to be lost? How does it feel when you see a marker of a fellow trail blazer?
- Even if we are alone, God is always with us. How can we show our trust in Him?
- God disciplined the Israelites for not trusting Him. Does this mean he loved them any less? How did He still keep His promises?
Supplemental Activity: Create a trail for students using the signs from the lesson. Students then have to follow the trail by interpreting the symbols. Students can even create trails for each other to follow.